
Last updated November 18, 2026
 Hardwood
 Engineered hardwood
 Luxury vinyl plank
 Laminate
 Porcelain tile
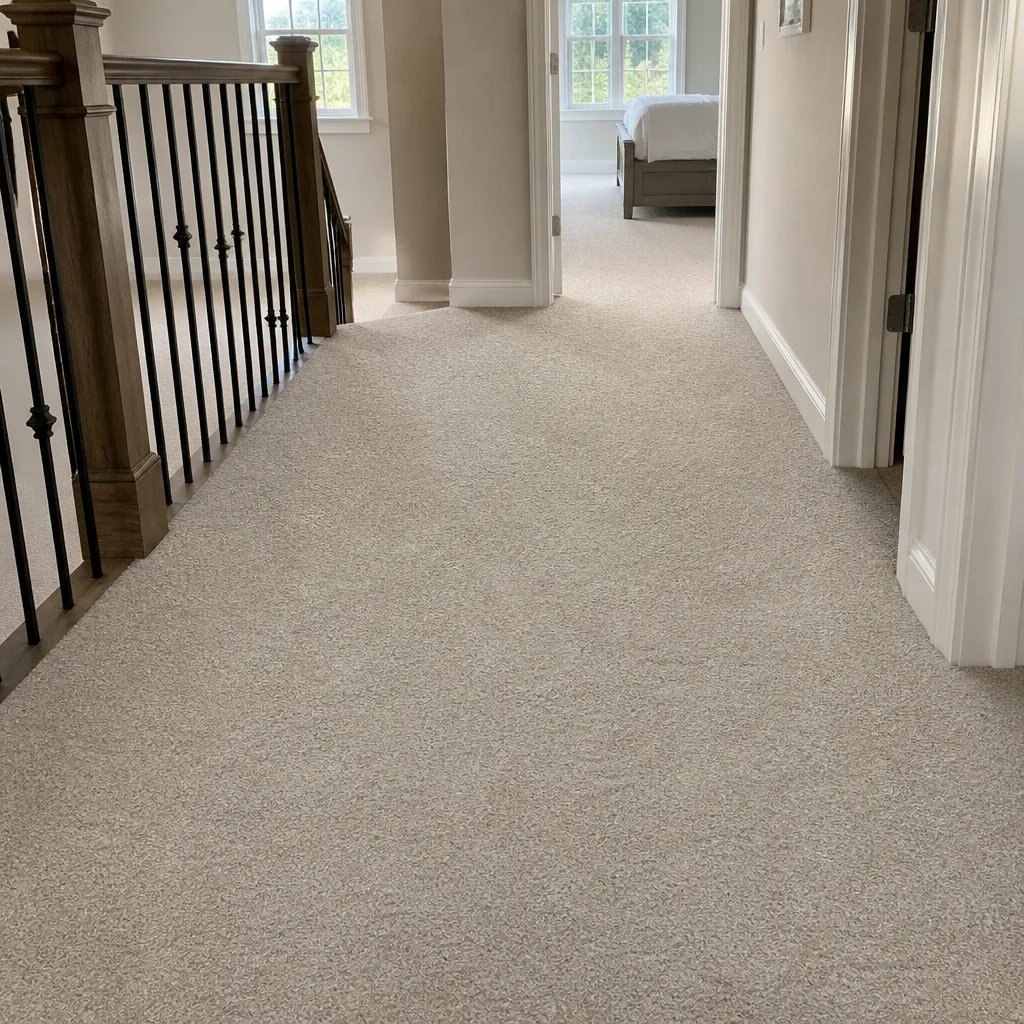 Carpet
 Shaw
 Mohawk
 COREtec
 Pergo
Free in-home measure and written estimate: Shaw, Mohawk, COREtec and Pergo lines compared on your own rooms, with carpet, tile, vinyl plank, laminate and hardwood laid out side by side
Get your free estimateHow to Prepare Your Home for a Flooring Installation in Las Vegas
Most homeowners think prep means clearing the room. That’s the smallest part of it. Here’s the part that surprises people: a crew that walks in to find baseboards still attached, furniture piled in the hallway, or a concrete slab that never got moisture-tested is looking at a job site that can’t start on schedule. Work stops, or the scope changes at the written estimate’s edge. In Las Vegas, where a large share of homes sit on slab-on-grade foundations, moisture testing is a day-before task, not a step the crew handles while you’re still moving boxes. Preparation is project management, and it starts days before install day.
This guide walks you through the checklist we use to keep installation days moving: the 72-hour sequence, how acclimation works in a desert climate, what to demo before the crew arrives, family and pet logistics, and what to confirm with your contractor the day before.
Quick Answer
To prepare for a flooring installation in Las Vegas, clear the project rooms fully, remove or protect baseboards where required, test the slab for moisture the day before work begins, and hold the home at its normal living temperature for at least 72 hours before install. Confirm your materials are on site and acclimating on the timeline your written estimate specifies, then block off a path and a staging area. Most prep work happens in the three days before install, and skipping the slab test or the HVAC window is the most common cause of delays on Las Vegas projects.
Styles & brands we work with
- Hardwood
- Engineered hardwood
- Luxury vinyl plank
- Laminate
- Porcelain tile
- Carpet
- Shaw
- Mohawk
- COREtec
- Pergo
Table of Contents
- The 72-Hour Pre-Install Checklist for Las Vegas Slab Homes
- What Acclimation Means in a Las Vegas Desert Climate
- Prepping Existing Tile for Demo: What You Can Do and What to Leave Alone
- The Furniture Removal Sequence That Keeps the Job Moving
- Pet and Family Logistics During a Multi-Day Install
- What to Confirm With Your Contractor the Day Before
- Matching the Floor Type to the Room Before Install Day
The 72-Hour Pre-Install Checklist for Las Vegas Slab Homes
Las Vegas homes are built overwhelmingly on concrete slabs, and that shapes the whole pre-install timeline. A slab under a floor in this climate has its own moisture behavior, and it doesn’t care what your moving-day schedule looks like. The test happens before the install, and the crew needs the result before materials go down. Here’s the sequence we recommend for the final three days:
- Day minus 3: Clear every item out of the project rooms. Furniture, rugs, closet contents, wall art, floor lamps, small appliances. Not pushed to the edge; out of the rooms entirely. Move fragile items and valuables to a room the crew won’t touch.
- Day minus 3: Set the thermostat to the temperature you actually live at, and leave it there. Materials need to sit at installation temperature, not at the colder or warmer setting you use during a move. Confirm your HVAC is running properly before this window opens.
- Day minus 3: Have your materials delivered and staged in a dry, temperature-controlled space. Verify the boxes match the product and quantity on the written estimate. If anything looks damaged or the wrong run lot, flag it now, not on install morning.
- Day minus 2: Remove baseboards and shoe molding in the project areas if your estimate calls for it. If you’re keeping the trim, plan how you’ll protect it. Clear the route the crew will carry materials through; that includes hallways, stairwells, and doorways.
- Day minus 1: Moisture-test the slab. This is the non-optional step for Las Vegas. Your contractor should specify the test method and the numbers that matter for the product being installed. If you’re handling the test yourself with a kit, run it now so the results are ready before the crew arrives.
- Day minus 1: Confirm the staging area. The crew needs a spot to cut, stack, and stage materials; a garage, a covered patio, or a cleared portion of a room works. Bathroom and kitchen access should be clear so nobody’s working around your coffee maker.
- Install morning: Walk the property with the lead before work begins. Point out anything fragile, any surface you don’t want tools near, and any doorway the crew should treat as the boundary for the rest of the home.
Three days is tight if you’re doing a whole-home project. If more than one room is involved, add a day for every two extra rooms and start the clearing process earlier. In our experience, the prep window is where Las Vegas projects go sideways. A slab test run the morning of install, or HVAC that’s been off during a move, can push a start day back while everyone waits.
What Acclimation Means in a Las Vegas Desert Climate
Acclimation is letting flooring material sit in the installation environment long enough for its dimensions and temperature to stabilize before it’s installed. It’s not a vague holding period; it’s a specific window tied to the product and the home, and your installer or the product literature should specify it for what you’ve chosen. In a humid climate, acclimation is largely about moisture content. In Las Vegas, it’s about temperature swings and dry air.
Why the desert timeline is different
A Las Vegas summer day can run hot enough that a garage storing boxes becomes an oven, and a winter night can drop cold enough that material sitting in an unheated room needs time to settle. Add the region’s low humidity and the way indoor air dries out during heating season, and the acclimation question becomes less “how many days” and more “at what temperature and in what space.” The material has to sit inside the home’s conditioned envelope at the target installation temperature, not in the garage and not in a spare bedroom with the door closed.
Your installer should be doing several things during the acclimation window:
- Confirming the HVAC is operating and the rooms are at a stable temperature
- Checking slab moisture before anything goes down
- Inspecting the subfloor for cracks, high spots, and debris
- Verifying material quantities against the written estimate
- Confirming the product matches the room and the installation method
Products that behave differently in a dry climate
Rigid-core products like COREtec are popular in Las Vegas for a reason: they handle temperature swings well and are a practical option over slab. COREtec and LifeProof both sit in the water-resistant luxury vinyl category, which makes them a reasonable question to raise for bathrooms, laundry rooms, and the kitchen-adjacent space where spills happen. Pergo laminate has its own installation requirements. Mannington offers both hard-surface and soft-surface products depending on the room. No product is waterproof in the absolute sense; standing water and moisture from below have to be addressed at the prep stage, whatever you install.
Acclimation timelines vary by product and by the home’s condition. The product instructions and your written estimate set the specific window. If a store tells you “just lay it down tomorrow,” ask them to confirm that in writing.
Prepping Existing Tile for Demo: What You Can Do and What to Leave Alone
Tile removal is one of the messiest parts of a flooring project, and the biggest mistake homeowners make is trying to get a head start. There are useful things to do, and there are things that will cause damage if you attempt them. The division is worth understanding before you touch a pry bar.
What homeowners can safely handle
- Move all furniture and movable items out of the room before demo day.
- Empty the cabinets or closets that will be inaccessible during demo, if the tile runs under or around them.
- Map out a clear path from the front door to the demo area for the crew and their equipment.
- Remove loose debris, area rugs, and small items from the floor surface.
- Confirm the crew’s dust-control plan with your contractor and close interior doors to block dust from the rest of the house.
- Photograph the existing tile layout if you’re planning to reuse any trim, transition pieces, or tile near rooms that aren’t being redone.
What to leave to the crew
Demolition is hard, dusty work that involves cutting, chipping, and sometimes sawing through a tile assembly adhered to a slab. It’s not a step we recommend homeowners take on, even the “easy” areas. The risks are real: flying tile shards, damage to the slab or subfloor, damage to plumbing or electrical lines embedded or beneath, and a demo pattern that makes the new installation harder. There’s also the disposal question; tile debris is heavy and needs an appropriate hauling plan. Your contractor should handle the demo, the dust control, and the disposal as part of the job scope, confirmed in the written estimate.
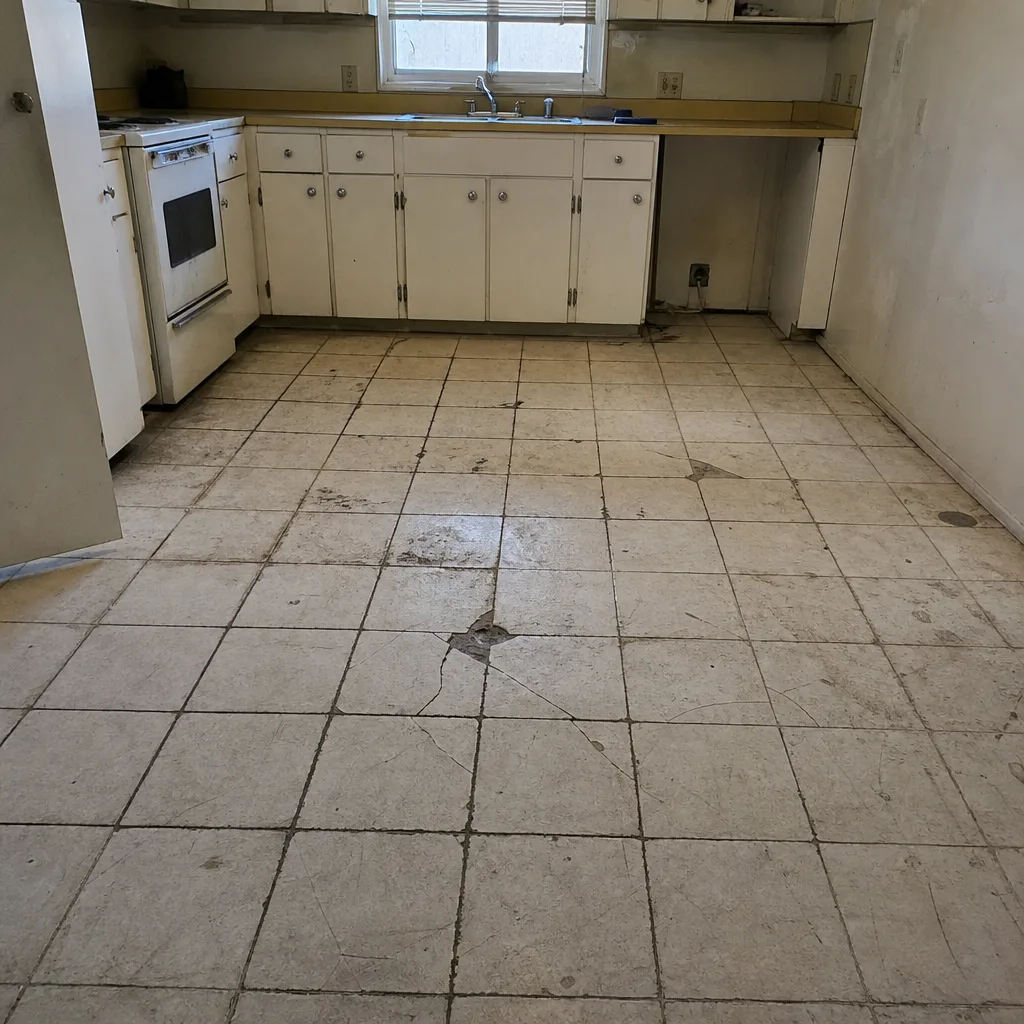
If you’re weighing keeping the existing tile versus replacing it, that’s a conversation worth having before install day. Sometimes the answer is layering a new floor over the tile; sometimes it’s removing and starting fresh. That depends on the tile, the assembly, the ceiling height, and what you’re installing on top. Our tile flooring installation work covers both scenarios, and the assessment happens at the estimate visit, not on demo morning.
The Furniture Removal Sequence That Keeps the Job Moving
Furniture removal sounds simple until you’re standing in a bedroom with a bed, a dresser, and no place to put either. The order matters more than the speed. Here’s the sequence that keeps a multi-room install from stalling:
- Pick the destination room first. Choose a room the crew won’t be working in for the duration of the project. It needs to hold the contents of every other room comfortably, which usually means one large room or two adjacent bedrooms.
- Pack small items before large furniture. Dishes, books, decor, and closet contents go into boxes first. Boxes stack; furniture doesn’t.
- Empty closets in the order the crew will reach them. Ask your contractor which rooms go first, and clear those closets and drawers the day before. If a room won’t be touched for three days, you don’t have to empty it on day one.
- Disassemble large furniture that won’t fit through doorways. Beds, large dressers, and dining tables often need to come apart. Do this yourself or arrange help; the crew is focused on the floor, not on moving your bed.
- Protect what you’re keeping. Wrap delicate furniture edges and corners before they go into the staging room. Tape furniture pads in place; don’t let them shift.
- Leave out the day-to-day items. Keep a small box of essentials (medications, chargers, toiletries, a change of clothes, pet food) in the staging room. You won’t want to dig through a sealed box on install day.
- Clear footpaths and doorways. The crew will be carrying materials through the house. A hallway with furniture pressed along the walls is still a hallway full of obstacles. Empty it.
- Check the exterior path if materials come in through a garage or patio door. Move vehicles and clear the route; the crew needs a straight line from the delivery point to the room.
What happens when the room isn’t clear
The crew has to either stop and wait, work around your furniture, or move it themselves. None of those is ideal. Working around furniture means risking damage to your items, and the crew can’t cover the floor completely if a heavy piece is sitting on it. If we have to pause the job to clear a room, the schedule moves for every job behind it. In our experience, a fully cleared room is the difference between starting at the top of the day and starting after lunch.
Pet and Family Logistics During a Multi-Day Install
An install that spans multiple days means your household is living in a smaller footprint for a stretch of time. Plan for that before install morning, not after the first day’s dust settles.
Pets
- Identify a pet-safe room for the duration of the project, or arrange boarding for the noisiest days. A closed-door room on the opposite side of the house from the work is workable; a room adjacent to the demo is not.
- Familiarize yourself with the layout of your home’s exits before install day. Crews will be moving in and out, and doors may be open longer than usual. Confirm your pets’ identification is current before the day arrives.
- Plan feeding and walk timing around the crew’s arrival and departure. Ask your contractor for the daily start and end times so you can set a routine.
- Some adhesive and finish products produce an odor during installation and shortly after. Ask your contractor for the product’s ventilation and re-entry guidance before the job, and follow it. Pets are more sensitive than people; keep them out of the work zone and give any new adhesive time to cure as instructed.
Family
- Identify the rooms that stay fully accessible throughout the project: bathrooms, at least one bedroom, the kitchen if it’s not being worked on, and a place to work or rest.
- Set expectations for younger household members about the work zone. A taped-off doorway is a boundary, not a suggestion.
- Plan meals and laundry around any room that will be blocked. If the laundry is on the far side of a work zone, run a load before install begins.
- Expect the work to be loud on demo days and quieter on finish days. That’s normal; ask your contractor which days involve cutting and which don’t.
- Keep the re-entry timing the crew gives you in mind. In a dry climate like Las Vegas, ventilation moves air quickly, but adhesives still need the cure time the product specifies. The crew should tell you when it’s safe to walk on and when it’s safe to move furniture back in. That’s usually not the same day.
For carpet replacement, the disruption is typically shorter than a hard-surface project with demo. You can read more about how we handle that in our carpet installation guide.
What to Confirm With Your Contractor the Day Before
Most Las Vegas flooring delays come from three places: a slab that hasn’t been tested, a home that isn’t at installation temperature, and a room that isn’t actually clear. All three are preventable with a five-minute conversation the day before work begins. Here’s what to confirm:
- Slab moisture test result. Ask when the test was done, what method was used, and whether the result is within the product’s acceptable range. Get this in writing if you can; it’s the number that protects you if a floor fails later.
- HVAC confirmation. Confirm the home has been at the target temperature for the required window and the system is working. If you’ve just moved in or the HVAC has been off during a move, flag it now.
- Material check. Confirm the correct product and quantity arrived, and ask where the crew will stage it. Verify the delivery date and time.
- Room clearance. Walk the project rooms one more time. Furniture out, closets emptied, footpaths clear. Take a photo of each cleared room and send it to your contractor; it grabs their attention and saves a call.
- Access plan. Confirm the entry route (front door, garage, side gate), the parking plan, and where the crew can set up cutting and staging areas.
- Schedule expectations. Confirm the arrival window, the daily work hours, and the planned duration. Multi-day projects usually have a clear sequence, and knowing which room goes first helps you stage your household around it.
- Re-entry and move-back plan. Ask when you can walk on each finished floor and when you can move furniture back. Plan your move-back day to match it.
One more thing to confirm the day before: who handles the baseboard and trim. Some estimates include removal and reinstall; some include replacement with new material; some leave the trim to you. That detail affects what you do during prep, so it should be clear before the crew arrives.
Matching the Floor Type to the Room Before Install Day
Prep work is easier when you know what’s going where and why. The right floor for a room isn’t a trend question; it’s a moisture, traffic, and lifestyle question. Our flooring installation Las Vegas work covers three product categories, and each fits a different set of rooms.
- Carpet: A practical fit for bedrooms and any room where softness underfoot matters. It’s the most forgiving surface for a playroom or a room with a lot of floor-level activity.
- Tile: The right call for kitchens, bathrooms, entryways, and laundry rooms. Porcelain and ceramic handle spills, humidity, and the wear of high-traffic zones. Daltile covers a broad range of ceramic and porcelain options for these rooms.
- Hardwood refinishing: If you already have wood flooring in good condition, refinishing restores the existing floor instead of replacing it. It’s worth checking on the condition of the wood and the thickness of the wear layer before you commit; some floors can be refinished, some can’t. That’s a conversation to have at the estimate.
For rooms where moisture is the main concern, water-resistant options from COREtec and LifeProof are worth discussing with your contractor. They’re not a substitute for fixing a water problem, but they’re a sensible surface choice for bathrooms, kitchens, and basements that see occasional damp.
Multi-room projects
If you’re updating more than one room, think about how transitions, doorways, and room boundaries line up before install day. A multi-room project can involve different surface types in adjacent rooms, with transition strips at doorways. Your estimate should spell out which rooms get which surface and how they meet. Flooring Installation Las Vegas covers carpet, tile, and hardwood refinishing in the same service area, so a whole-home refresh stays with one team instead of being split across three contractors.
Common Mistakes to Avoid
- Leaving the HVAC off during a move-in or renovation. If the home has been empty and unconditioned, the interior temperature won’t match what the material needs. Set the thermostat and give it the full acclimation window before install day, not the morning of.
- Skipping the slab moisture test. Las Vegas is slab country. A slab that hasn’t been tested is a question mark on every product going down. If your contractor doesn’t raise it, you should.
- Thinking “cleared” means “pushed to the wall.” Furniture in the project room, even along the edges, still blocks the crew from covering the full floor. Remove it from the room entirely.
- Piling everything in the bathroom. The bathroom is the one room that needs to stay accessible for the whole job. Pick a bedroom or garage for staging, not the smallest room in the house.
- Trying to demo the tile yourself. The “quick” removal of a few loose tiles can turn into a cracked slab, a nicked pipe, or an uneven subfloor the crew has to fix before it can start. Leave demo to the crew.
- Assuming the trim will be reinstalled. Baseboard removal and reinstall is a scope item, not a given. Verify it in the estimate before install day.
- Forgetting the outside path. If materials come through a side gate or garage, the route needs clearance for the crew’s equipment. A blocked path on install morning is a delay that could have been spotted the day before.
See the difference
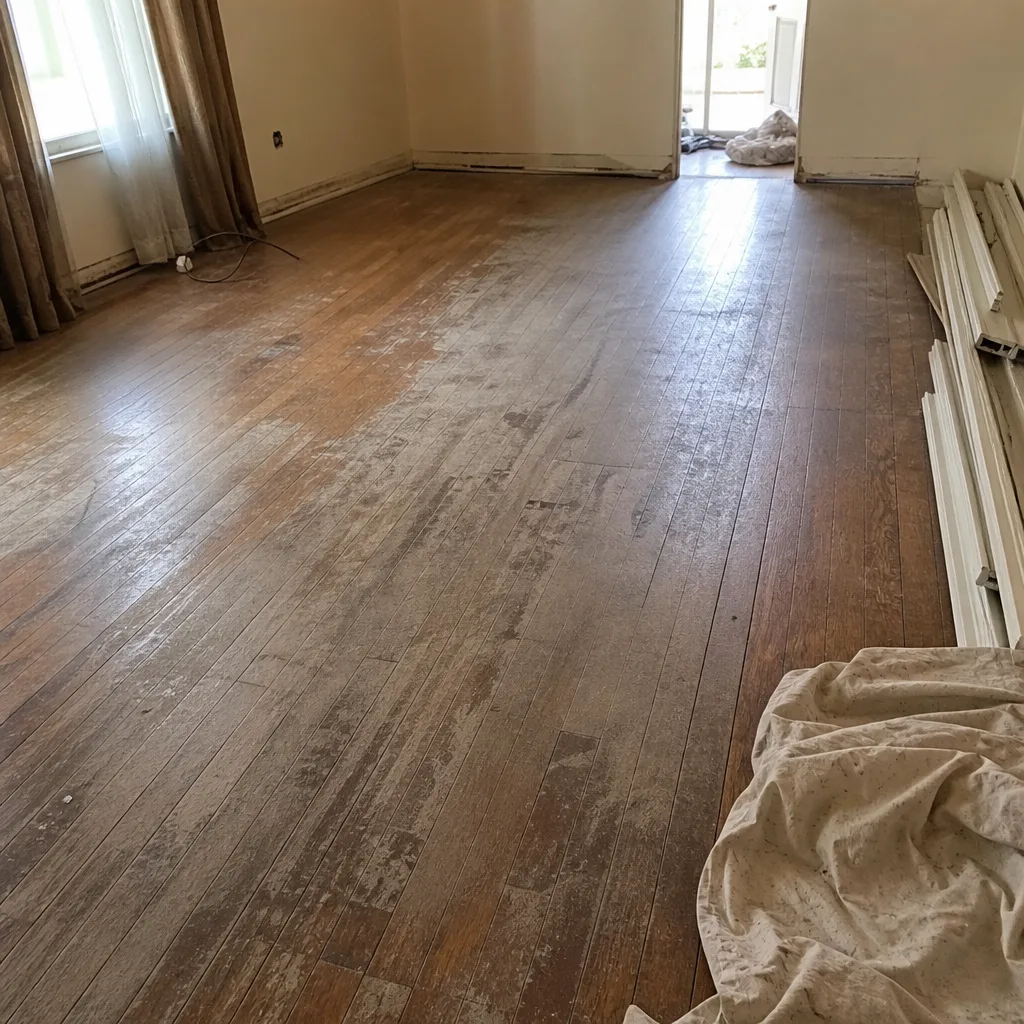 Before
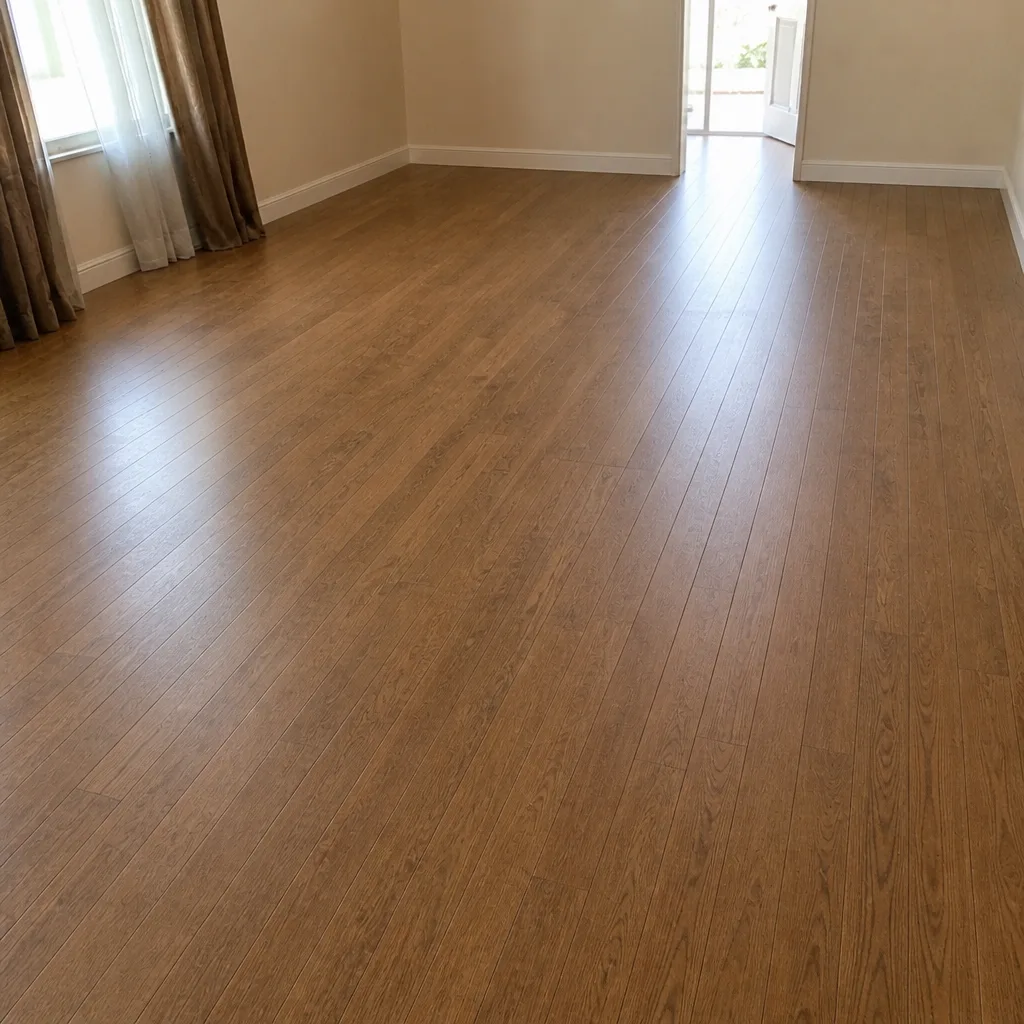 After
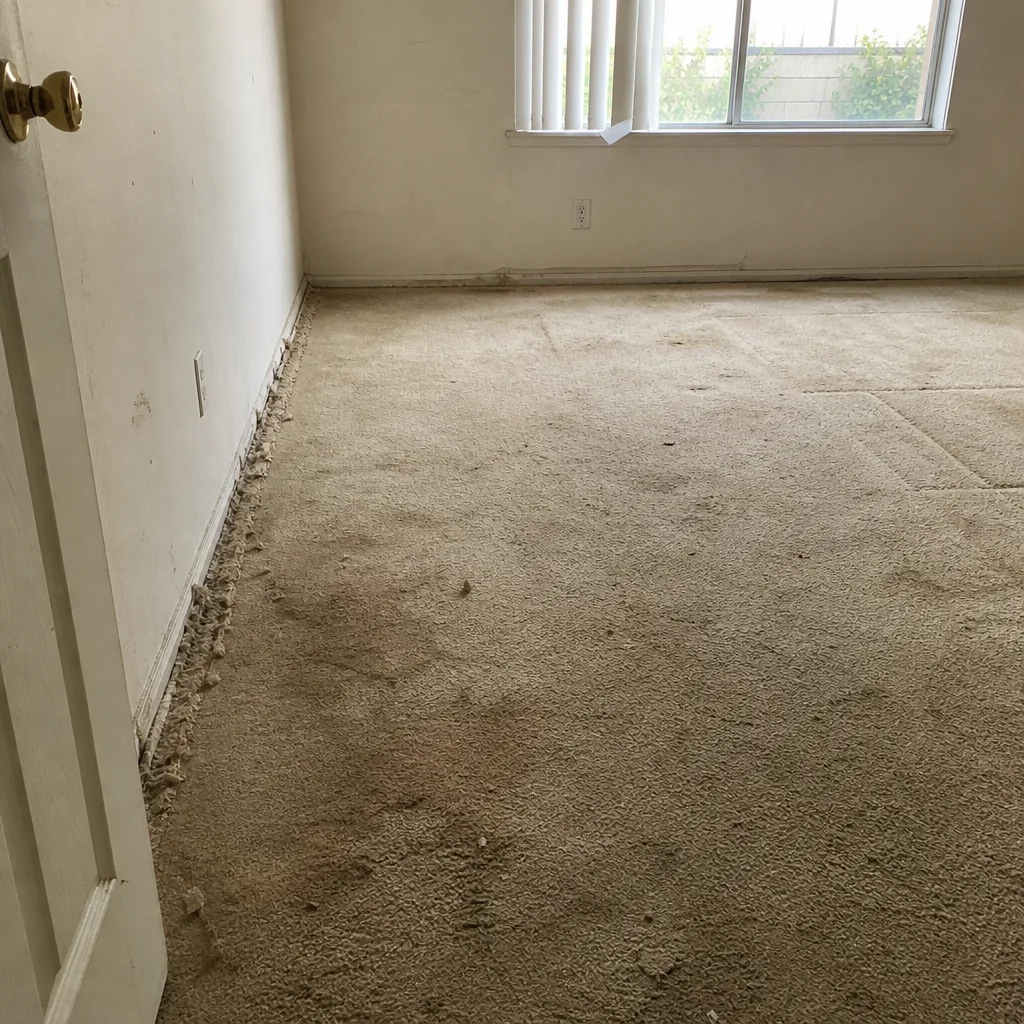 Before
 After
 Before
 After
When to Call a Professional
Some of this guide is DIY prep, and some of it isn’t. If your project involves a slab that’s never been tested, an existing tile floor you’re not sure how to handle, or wood flooring you want to refinish, those are professional assessment items, not homeowner tasks. Refinishing in particular is a judgment call about whether the floor is a candidate for refinishing at all; that’s a look-at-it-in-person decision, and the product literature doesn’t answer it for you. Multi-room projects, tight timelines, and older homes all benefit from a trained eye on the subfloor before anything is ordered. Serious moisture intrusion, a damaged slab, or flooding history should be assessed by a professional before any new floor goes down.
Flooring Installation Las Vegas offers free estimates in Las Vegas. Call (888) 294-5867 to schedule yours. We answer 24/7. Fast dispatch from 7am to 7pm, Sunday through Friday. Our technicians have up to 13 years of experience, and we install the floor you choose from Shaw, Mohawk, COREtec, Pergo, LifeProof, Mannington, Armstrong, Daltile, and Karndean.
Frequently Asked Questions
Start clearing rooms and setting the thermostat at least 72 hours before the scheduled install, and clear furniture the day before demo begins. The longer window matters most in Las Vegas slab homes, where the moisture test and the temperature hold need to be finished before materials go down. Your written estimate should specify the exact acclimation window for your product. Call (888) 294-5867 for an estimate and we’ll walk you through the timeline.
No. Furniture only needs to come out of the rooms being worked on, plus any hallway or doorway the crew uses to move materials. Stage it in a room that won’t be touched during the project. If you’re doing a whole-home install and every room is on the schedule, you’ll need off-site storage or a very understanding neighbor. Ask your contractor which rooms go first so you can plan a staged move.
Acclimation is letting flooring material sit inside the conditioned home at installation temperature so it stabilizes before install. The specific window depends on the product, the material, and the home’s conditions; your product instructions and written estimate set it. In a dry desert climate, the key is that the temperature hold happens indoors, not in the garage, and that the HVAC has been running throughout the window.
The crew handles tile removal. Demo is part of the job scope and should be confirmed in your written estimate. Homeowners can prep by clearing the room, planning the path to the work area, and confirming the dust-control plan, but the actual removal of tile and any thinset underneath is work for the installation crew. Call (888) 294-5867 to schedule a free estimate; estimates are free.
Re-entry timing depends on the product and the installation method, and the crew should give you a specific answer before they leave. Walking on the floor and moving furniture back are often two different dates. For carpet, re-entry is typically quicker; for tile with adhesive or hardwood with finish, the cure or dry window applies. Ask for the timing in writing and plan your furniture move to match it.
Yes, the estimate is free. We visit, measure, assess the slab and existing flooring, and leave you with a written price. The written estimate sets the final price, and there’s no cost for the visit. Call (888) 294-5867 to schedule. We answer 24/7, with fast dispatch from 7am to 7pm, Sunday through Friday.
The Bottom Line
Preparation is where a flooring project either stays on schedule or loses a day to a fixable delay. In Las Vegas, the three things that matter most are the slab moisture test, the temperature hold on your home’s HVAC, and clearing the work zone fully. Do those, add the tile demo and furniture sequencing to your calendar, and plan for the household to live smaller for the duration of the job. When you’re ready for a written price, Flooring Installation Las Vegas covers Las Vegas with free estimates. Call (888) 294-5867. We answer 24/7. Fast dispatch from 7am to 7pm, Sunday through Friday.
Written by the team at Flooring Installation Las Vegas.